Tuesday, March 25, 2014

Simple Progressive Watercolors


I have been interested in watercolors for a while now.  I have seen several artists online that do work all in one color of paint.  So I decided to try and create my own version, a very simplified version of course.

Here are all the supplies that you will need if you want to try these yourself:


  • A piece of watercolor paper or another type of canvas meant for watercolors.
  • One large brush for your first few washes.
  • One small brush for the more detailed washes.
  • One color of watercolor paint, or a mixture of different colors if you want to make your own.
  • And finally, water of course!


First start out with a light wash with your large brush.  Let that dry completely before you begin your next wash.


Now, choose a shape or pattern you want to use for the rest of your painting.  Keep it small at first so you can get in a lot of washes, that way you can get your color nice and dark toward the end.  Just create an outline of your shape and paint from the outline to the edge of your paper.  Be sure to let only your first wash show through inside your shape.
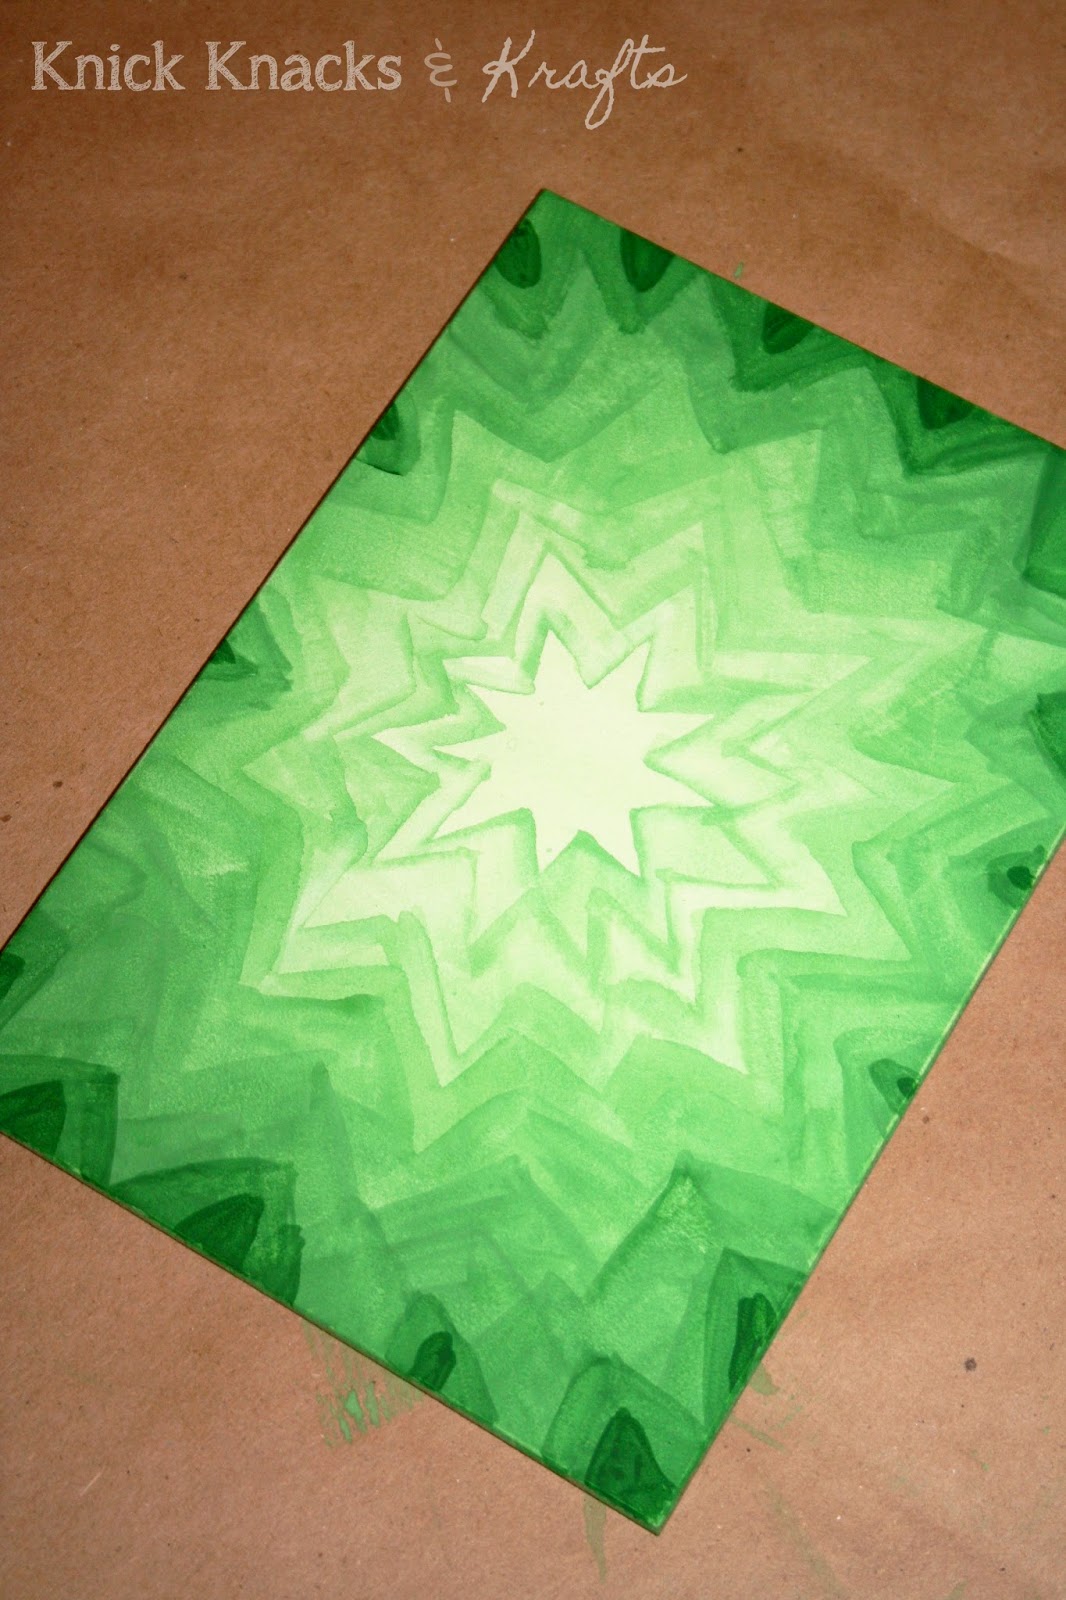

Continue like this until your shape gets all the way to the edge. Just be sure to let each wash dry completely before you start the next one, this project can take some patience. If you are really in a hurry you can try a cool hair dryer, but I don't really recommend it.


Here are a few of the other pieces I have used this technique on.  What do you think? Is this a project you might want to try?  Leave me a comment and let me know how it goes!


Friday, August 2, 2013

DIY Painted Table Runner


I am a frequent and proud visitor of the Walmart clearance aisle. Most of the time there is not much there, but a few weeks ago I found this bamboo table runner which I really liked for only $5.


However, when I got it home it ended up looking kind of dull... so I had the idea to paint a design on it!


I printed off four different flower designs in two different sizes.  Then I cut them out to use as stencils.


When I was positioning them on the runner I was careful to not let the same flowers get too close together.  I also found that it looked best if I let some of the go over the edge.


Then I just painted the flowers in variety of coordinating colors, again being careful to not let the same colors end up next to each other.  I really love how it turned out! What do you think?


Wednesday, April 17, 2013

Focus on the Light

Hope y'all like this new picture!


Just right click on the picture above and select "open link in new tab" to open full size image so you can save it.  If you use this on the web please link back to me and let me know where you use it by comment or email so I can see it too.  Other than that, feel free to use this however you like!

Enjoy!


Friday, December 21, 2012

Dreams Printable

Here is a new printable!


Just right click on the picture above and select "open link in new tab" to open full size image so you can save it.  If you use this on the web please link back to me and let me know where you use it by comment or email so I can see it too.  Other than that, feel free to use this however you like!

Enjoy!


Tuesday, December 18, 2012

Washer necklaces

First of all, I would like to apologize for my long absence in the blogging world recently!  I have been preoccupied with school, but no more of that because I have GRADUATED!! So I fully intend to get back into the swing of things around here!


Awhile back I found this project on Pinterest, it is really easy and very affordable.  It's only washers, scrapbook paper and a special type of glue that dries with dimension. I was so excited that it really turned out as good as it looked online!  I ended up making them for all my friends for Christmas.


You can find the full tutorial that I used here.


Thursday, October 4, 2012

Jewelry Design: Silversmithing

The last couple weeks in my jewelry class I have been working on silversmithing.  Basically, we use a torch to solder the pieces of silver together to make the different pieces of jewelry.


This is the ring I made, we had a long piece of silver that we cut and shaped into the actual ring portion, then we attached the bezel cup and later put in the stone.


This bracelet is made out of the same type of silver, and assembled much the same way just on a much larger scale.


I shaped the loop of this pendent, again out of the same silver, and then soldered it to the back of the bezel cup.


These earrings are my favorite out this set.  I just drew out a pattern on a piece of paper and shaped the silver to match it and attached the bezel cups for the stones to the inside of the design.  All the other pieces we all had to pretty much do the same, but I loved getting to be more creative with these!

I hope you like these, and soon I will have more fun to share from my class!


Monday, October 1, 2012

Printable: Thoreau Quote

Well I have tried my hand at graphics again, and I want to share!


Just right click on the picture above and select "open link in new tab" to open full size image so you can save it.  If you use this on the web please like back to me and let me know by comment or email where so I can see it too.  Other than that, feel free to use this however you like!

Enjoy!


Friday, September 28, 2012

Watercolor Pinterest Flop...


It happens to the best of us... Pinterest fails.  It's a fact of life for all Pinterest users.  A while back I came across this pin:

                                                                        Source: alisaburke.blogspot.com via Kristen on Pinterest


The caption was simply: "Watercolor over white crayon."  And I thought to myself, "That's brilliant!"  Don't you agree?  Well it didn't work out so well...

The root of my problem is that whoever originally pinned this pinned the blog homepage and not the blog post... big pet peeve of mine.  Well I searched for a while on the blog trying to find the tutorial, but I didn't have any luck.  The blog is AMAZING! But it has way too many posts for me to look through them all.

But I forged ahead anyway!  I thought it sounds simple and logical, I'll just give it a go anyway...


I taped down my watercolor paper so that it wouldn't wrinkle too badly, and then began drawing a cute twig/vine and leaf design.  I'm usually pretty bad at drawing these kinds of patterns, but I really liked how this one turned out.  I know you probably can't see it very well though... it's white crayon on white paper, there was only so much my camera could do, haha!

Then came the disappointment, I began doing a light wash on my paper and it was quickly obvious that this was not working the way the caption on Pinterest claimed it would.


This is not at all what I was expecting, you can hardly see the pattern at all!  The crayon did repel some of the paint, but not nearly enough.

I am not giving up on this one though.  I plan to try this again sometime because that original pin is just too cute, I want one too!  I think maybe part of my problem is I used watercolor paint from a tube, I think this might work better with the cheap kid's button watercolors.  I think I will try that next, and I will let you all know when I solve the mystery!  If you have any suggestions please share, I'd love to hear them!


Sunday, September 23, 2012

Jewelry Design: Wire Wrapping (Part 2)

First of all, I want to apologize for my long absence from the blogging world.  It is very sad, but I have been incredibly busy with work, classes, and homework :(

Okay, on to the good stuff!

I have more fun jewelry to show you from my class!!  If you didn't see my first post about my jewelry class, check it out here!

These are both more examples of wire wrapping, this time they are pendants:


This pendent is a wrapped black cabochon, and it matches the rest of the set that I posted pictures of from my first class.


This is a wrapped marble pendant.  The picture does not do this one justice (mostly because I'm not that great of a photographer, but I'm learning slowly but surely).  I like how this one doesn't really have a front or back, it pretty much looks good from any angle.

Well, I promise not to stay away as long this time!  Keep checking back for more pictures from my Jewelry Design class adventures!


Friday, September 7, 2012

Free Printable- Micah 6:8


I have been working on my photoshop skills a lot lately, so I thought I would come up with something to share with you all!

This an 8.5 x 11 PDF printable that you can DOWNLOAD HERE!  Just click file, download (or save) in the upper left hand corner of the screen.

Enjoy!!


Thursday, September 6, 2012

New Layout Design!!

Check it out!!  Things are looking a lot different around here lately.  In the past few weeks I have been looking around at other blogs a lot for some ideas of what to do with my own.  I love working on my layout, and I really loved my old one, but I realized something.... it was way too busy and cutesy...

So I've working over the last couple of days to come up with something completely NEW!  And I am really loving how it is turning out so far!


I am still in the process of making some finishing touches... but let's face it, I always will be!  So I would love to hear what you all think!  Do you think it is a good change, or do you like the old layout better?  I'd love to hear your tips and suggestions :)


Friday, August 31, 2012

Flash Diffuser

I am by no means a photography expert, but I discovered a cool trick the other day.  I was taking final pictures of this project and it was a bit too dark to take the pictures without the flash, but the flash was way too bright.  It was quite a dilemma, let me tell you! Ha!

Well, I was standing next to my printer and I suddenly had an idea.  What if I tried to diffuse the light by putting a piece of paper over the flash?? Well after folding the paper in half a couple times, it did the trick!  Check it out:


I normally edit my pictures a bit before posting them on here (again, no expert), but these are just as the came straight off my camera except for the words that I added.  I am not a fan of the look of pictures taken with a flash, so I think this is a going to be a handy trick for me in the future!